Snow Science Experiments for Kids, With What Each One Shows
Real snow makes a free science lab. Here are seven simple experiments with supplies, steps and a short explanation of what each one shows.
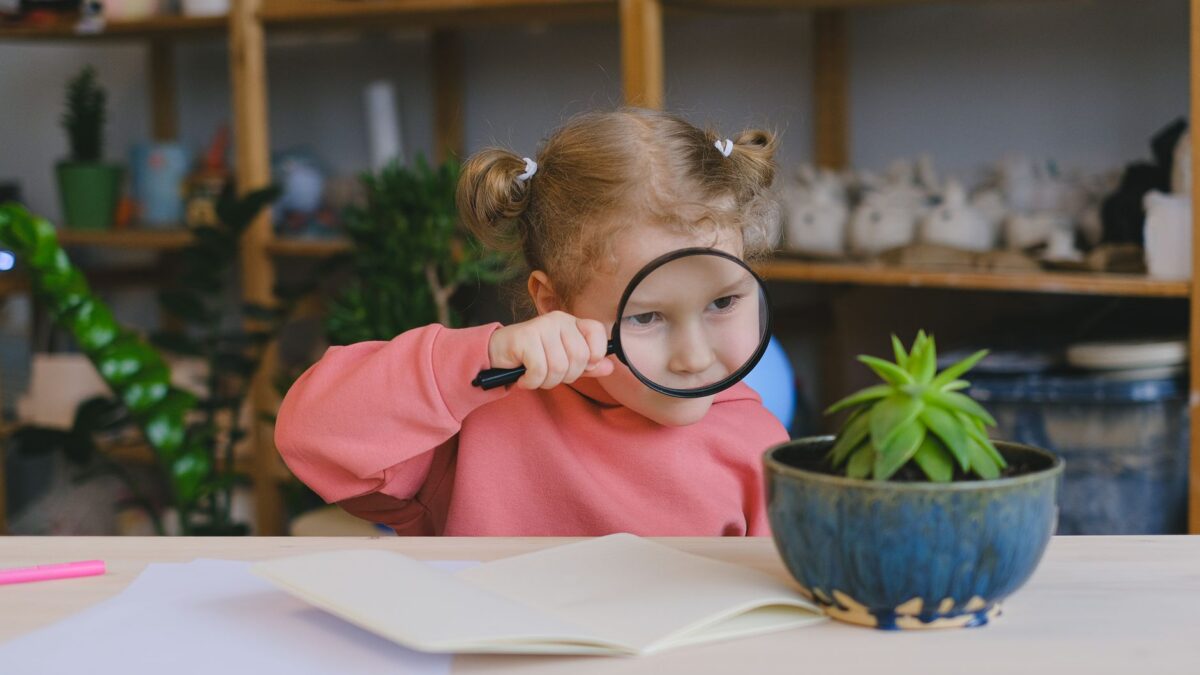
You do not need a kit to do snow science. A few cups, a magnifying glass and some table salt are enough to test how snow melts, how bubbles freeze and what snowflakes look like up close. Pick one or two experiments from the list below, gather the supplies before you go out and let children guess the result before they test it.
Most of these take 10 to 30 minutes of hands-on time. All of them work best when children predict first, then observe, then say what surprised them.
Quick guide to the experiments
| Experiment | Best for ages | Needs cold weather? | What it shows |
|---|---|---|---|
| Snowflake watching | 3 and up | Falling snow | Snow crystals have shapes you can see up close |
| How much water is in snow? | 5 and up | Any snow | Snow is mostly air |
| Melting race | 5 and up | Any snow | Salt changes how fast snow and ice melt |
| Dark vs. light melt test | 6 and up | Sunny day with snow | Dark surfaces take in more sunlight |
| Frozen bubbles | 4 and up | Very cold day | Soap film can freeze into crystals |
| Snow volcano | 3 and up | Any snow | A fizzing reaction makes gas |
| Track detective | 4 and up | Fresh snow | Careful observation can answer “who was here?” |
Before you start
- Dress for the cold, with waterproof mittens that let kids hold small tools. The American Academy of Pediatrics offers tips on its cold weather safety page.
- Treat the experiment snow as non-food. Skip the tasting, and keep salt, vinegar and soap away from eyes and mouths.
- Use a tray. A baking sheet keeps cups from tipping and gives you a place to collect melted snow.
- Bring a notebook. Even a folded piece of paper works for predictions and results.
1. Snowflake watching
Supplies: dark paper, cloth or a piece of cardboard; a magnifying glass; pencil and paper.
- Chill the dark paper in the freezer or on a porch for a few minutes before you start.
- Go out while snow is falling and let a few flakes land on the paper.
- Look at them through the magnifying glass. Draw what you see.
- Compare drawings. Are they all six-sided stars, or do some look like clumps, needles or bits?
What it shows: Snow crystals form from ice and often have six-fold shapes, but real flakes vary a lot. Many look like clumps or broken fragments, and which type falls depends on the air temperature and moisture where the flakes formed. Kids are often surprised that not every flake is a classic star.
2. How much water is in snow?
Supplies: a tall clear cup or jar, a ruler, a marker, snow.
- Pack the cup full of snow and mark the top.
- Bring it inside and let it melt on a counter.
- Mark the new water level and measure the difference.
- Repeat with a different kind of snow, such as fluffy powder and wet, heavy snow.
What it shows: Snow traps a lot of air, so melting leaves much less water than snow. How much less depends on the snow: light, fluffy snow usually leaves less water than heavy, wet snow. For older kids, graph the results over a few storms.
3. Melting race
Supplies: four clear cups, equal amounts of snow or crushed ice, table salt, sugar, a timer.
- Fill the cups to the same level with packed snow.
- Leave one cup plain. Sprinkle a spoonful of salt on the second and the same amount of sugar on the third. Try something else on the fourth, such as baking soda.
- Guess which one will melt first. Write it down.
- Check every few minutes and record the times or take photos.
What it shows: Salt lowers the freezing point of water, which is why it helps melt ice on roads even when the air is below freezing. Sugar dissolves but usually has less effect, so results can be close to the plain cup. Because snow, cups and rooms differ, let kids compare to the plain cup rather than assuming the answer.
4. Dark vs. light melt test
Supplies: squares of black and white paper or cloth, a sunny spot with snow, a ruler.
- Lay a black square and a white square flat on the snow in full sun.
- Wait an hour, then lift the squares and look at the snow below.
- Measure how far each one has sunk or how much snow has melted around it.
What it shows: Dark colors absorb more of the sun’s light than light colors do, so the dark square warms more and usually melts more snow. The same idea explains why dark clothes feel warmer in the sun.
5. Frozen bubbles
Supplies: dish soap, warm water, a little corn syrup or sugar, a straw or bubble wand, a pie plate.
- Mix about one cup of warm water, a couple of tablespoons of dish soap and a tablespoon of corn syrup or sugar. Stir gently so it does not foam.
- Chill the mixture and the wand in the cold for a few minutes.
- Find a spot sheltered from wind. Blow a bubble onto the wand or onto snow and watch.
What it shows: A bubble is a thin layer of soapy water, so it can freeze when the air is cold enough, forming crystals you can watch spread across the surface. Sources vary on how cold it needs to be: some suggest the experiment works best below about 20 degrees Fahrenheit and better still near or below 0, and wind makes bubbles pop. Do not be disappointed if it takes a few tries, and note that warm breath inside the bubble slows freezing. Frozen bubbles are fragile and can shatter.
6. Snow volcano
Supplies: baking soda, vinegar, a small cup, a tray, snow.
- Sink the cup in a mound of snow.
- Add two spoonfuls of baking soda to the cup.
- Pour in vinegar and watch the foam spill over.
What it shows: Baking soda and vinegar react and release carbon dioxide gas, which makes the foam. The snow does not cause the reaction, but it adds a fun way to see the foam and the melted channels it makes.
7. Track detective
Supplies: a ruler, a notebook, a camera or a phone.
- After fresh snow, walk the yard or a park and look for prints.
- Measure the width of a print, the stride between prints and the pattern.
- Take a photo with a ruler beside it and guess what made it.
- Look up guesses in a library field guide.
What it shows: Tracks tell a story about size, speed and direction, and good observers can reason from clues. Make a point of staying a respectful distance from any wild animals.
Where to go from here
If your child enjoys these, try the kitchen-counter versions in our easy science experiments at home. For a full day of cold-weather play around the experiments, see the snow day activities plan, or add a few to a winter bucket list.
Bottom line
Snow experiments need only cups, salt and curiosity. Predict first, test second and compare to a plain control. Keep experiment snow out of mouths, plan for warm-up breaks and let children take the lead on questions.
FAQ
Is it safe to taste the snow?
It is better to skip it. Snow falls through the air and settles on the ground, so it can pick up dirt and other things you cannot see. For snow ice cream and other treats, ask your pediatrician or check the guidance from a trusted health source first.
How cold does it need to be for frozen bubbles?
Accounts vary. Some sources suggest below about 20 degrees Fahrenheit and others say it works best near or below 0 degrees. Wind, humidity and the soap mix also matter, so expect to try more than once.
Can we do these experiments without snow?
Yes. Use crushed ice or ice cubes for the melting race and the volcano, and use a dark and a light cloth on a sunny windowsill for the color test. Frozen bubbles and snowflake watching need real cold.
What age are snow experiments best for?
Toddlers can scoop, pour and watch foam. Preschoolers can predict and compare, and school-age children can measure and record results. Always supervise, and keep small items such as salt and baking soda away from the youngest children.